
Online Album Setup
The Online Album is the showcase site that your guests will see by scanning the QR Code or visiting your link. It is divided into 3 strategic tabs: Home, Personalization and Photo Gallery.
1. “Home” tab (General Information)
Define the visual identity and basic information of your site:
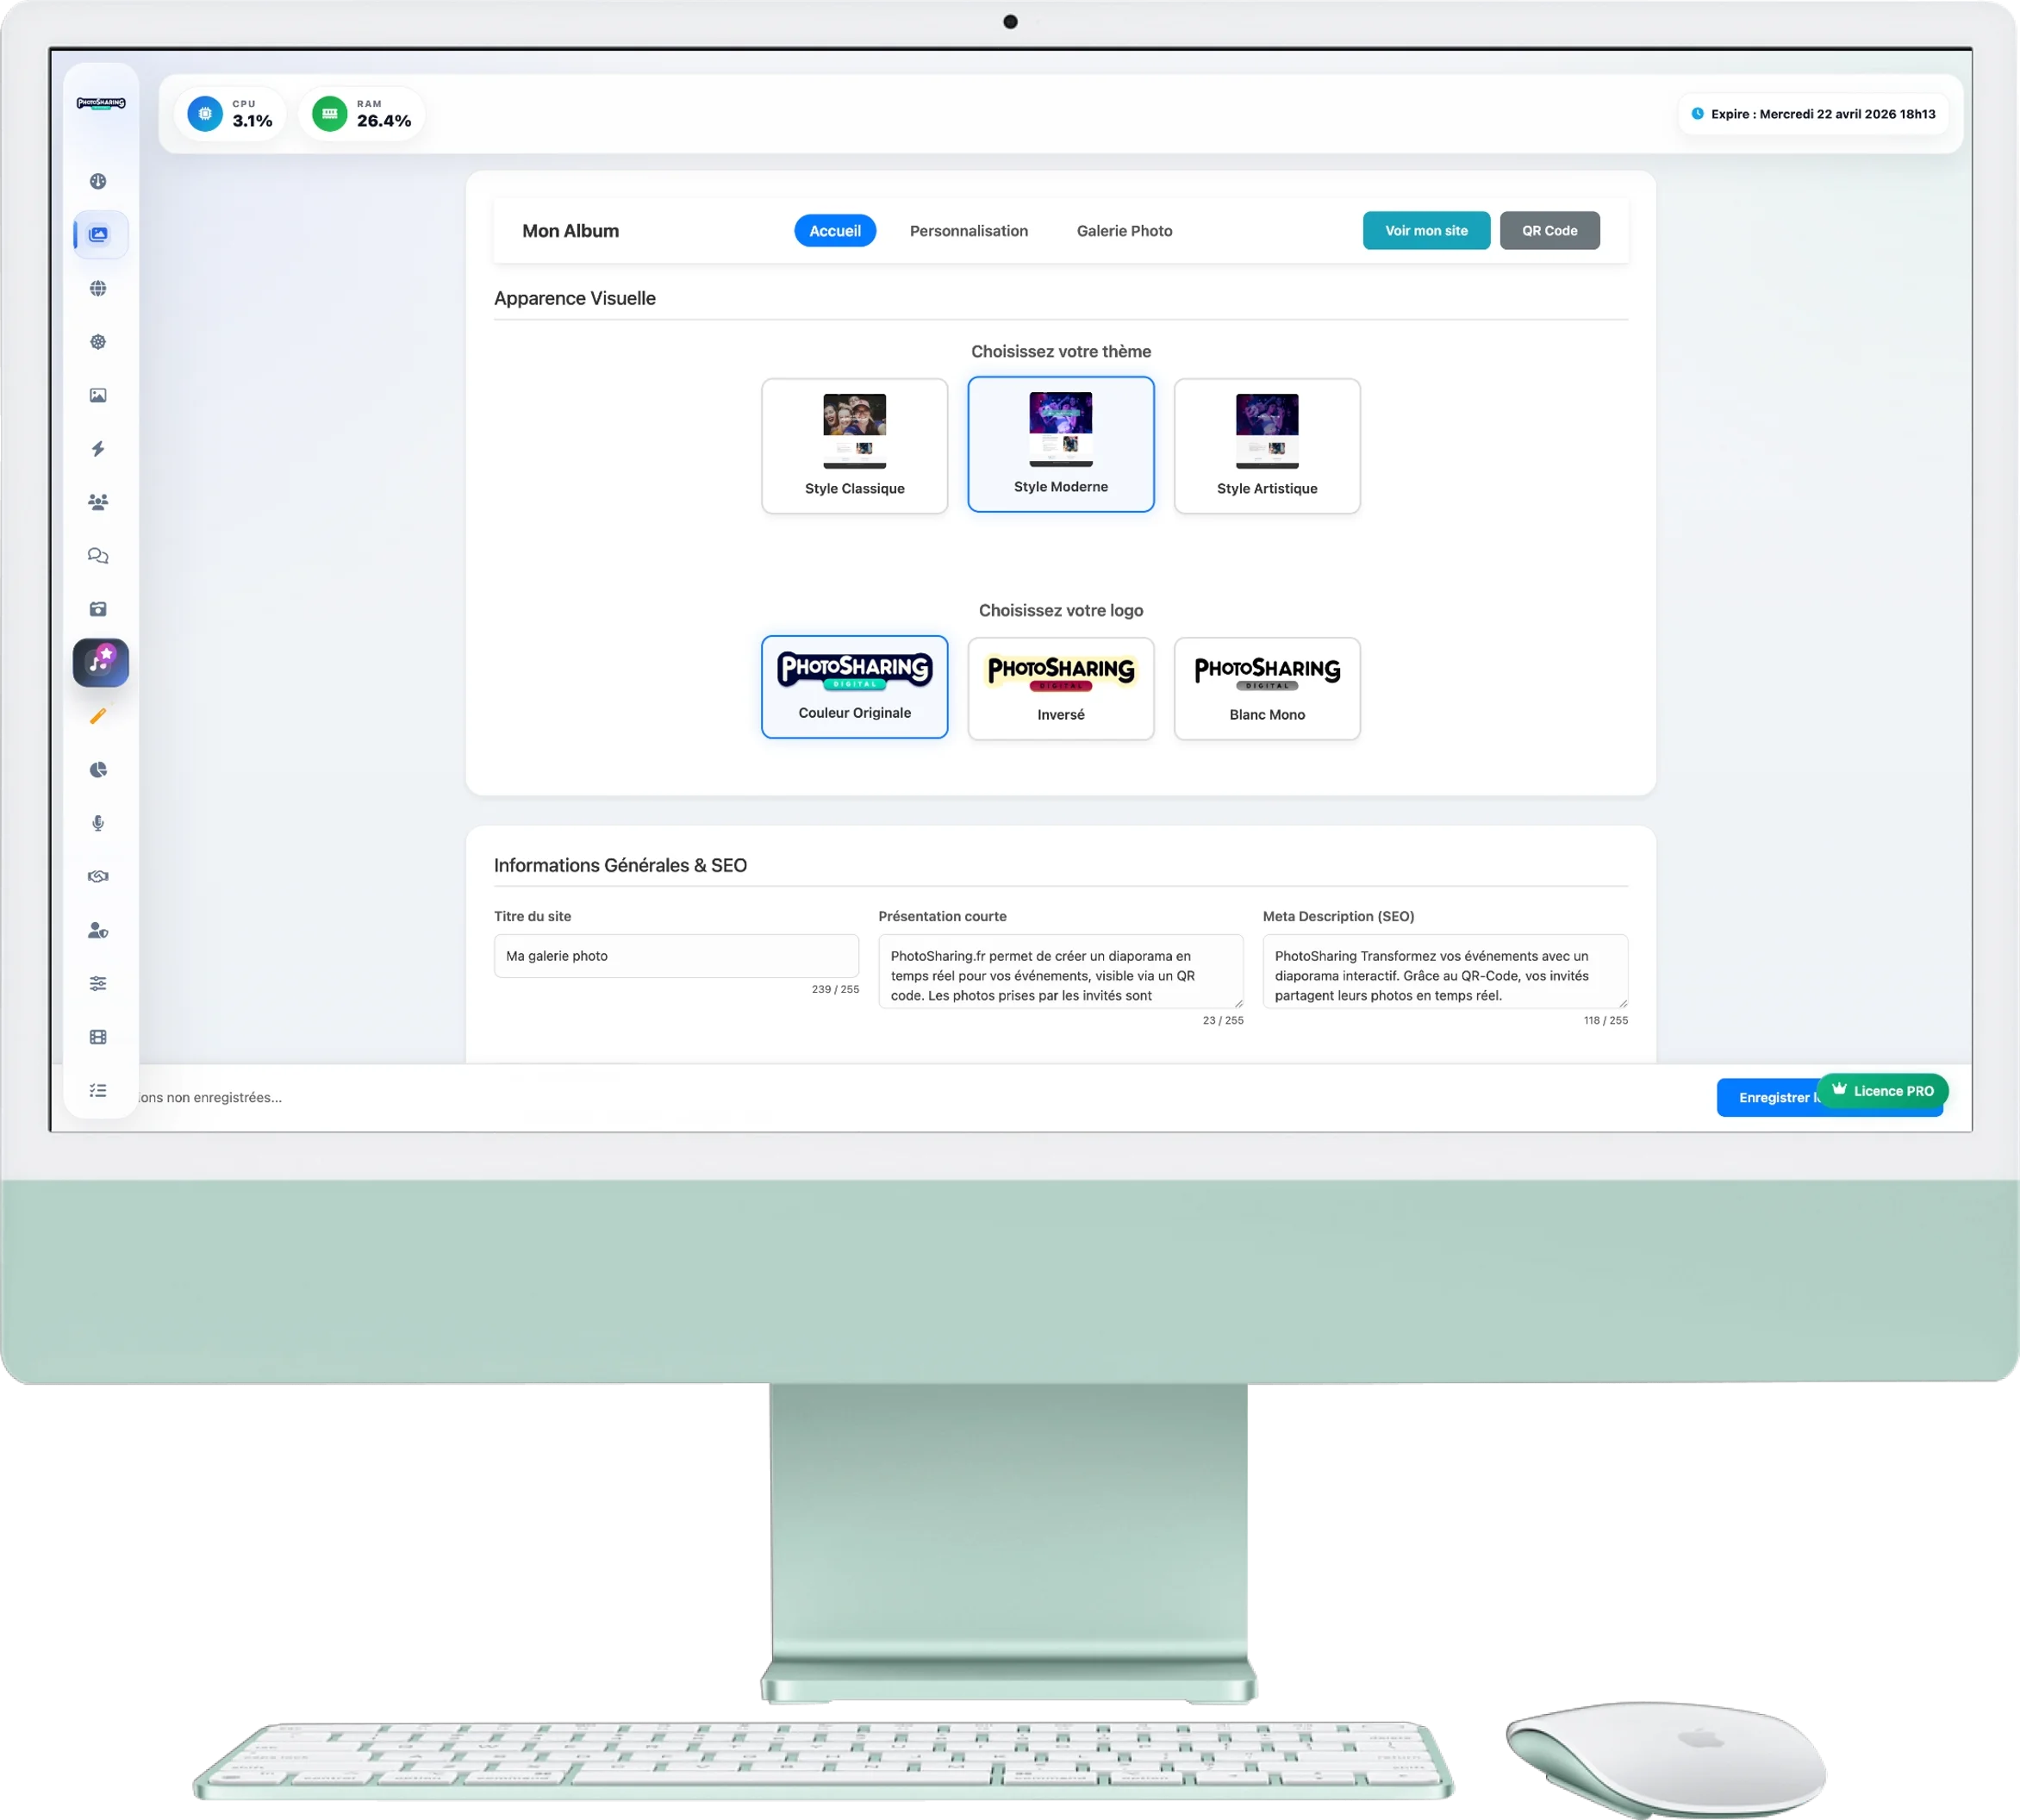
- Visual appearance: Choose the style (Classic, Modern, Artistic) and shade of your logo (Color, Inverted, White).
- General & SEO: Enter the site title, short description and keywords for SEO.
- Contact & Networks: Add your Facebook, Instagram, external website and contact details.
- Welcome Messages: Personalize the texts (H2/H3 Titles) that will be displayed on your guests' home page.
2. “Personalization” tab (Media)
Manage the images that illustrate your guest website:
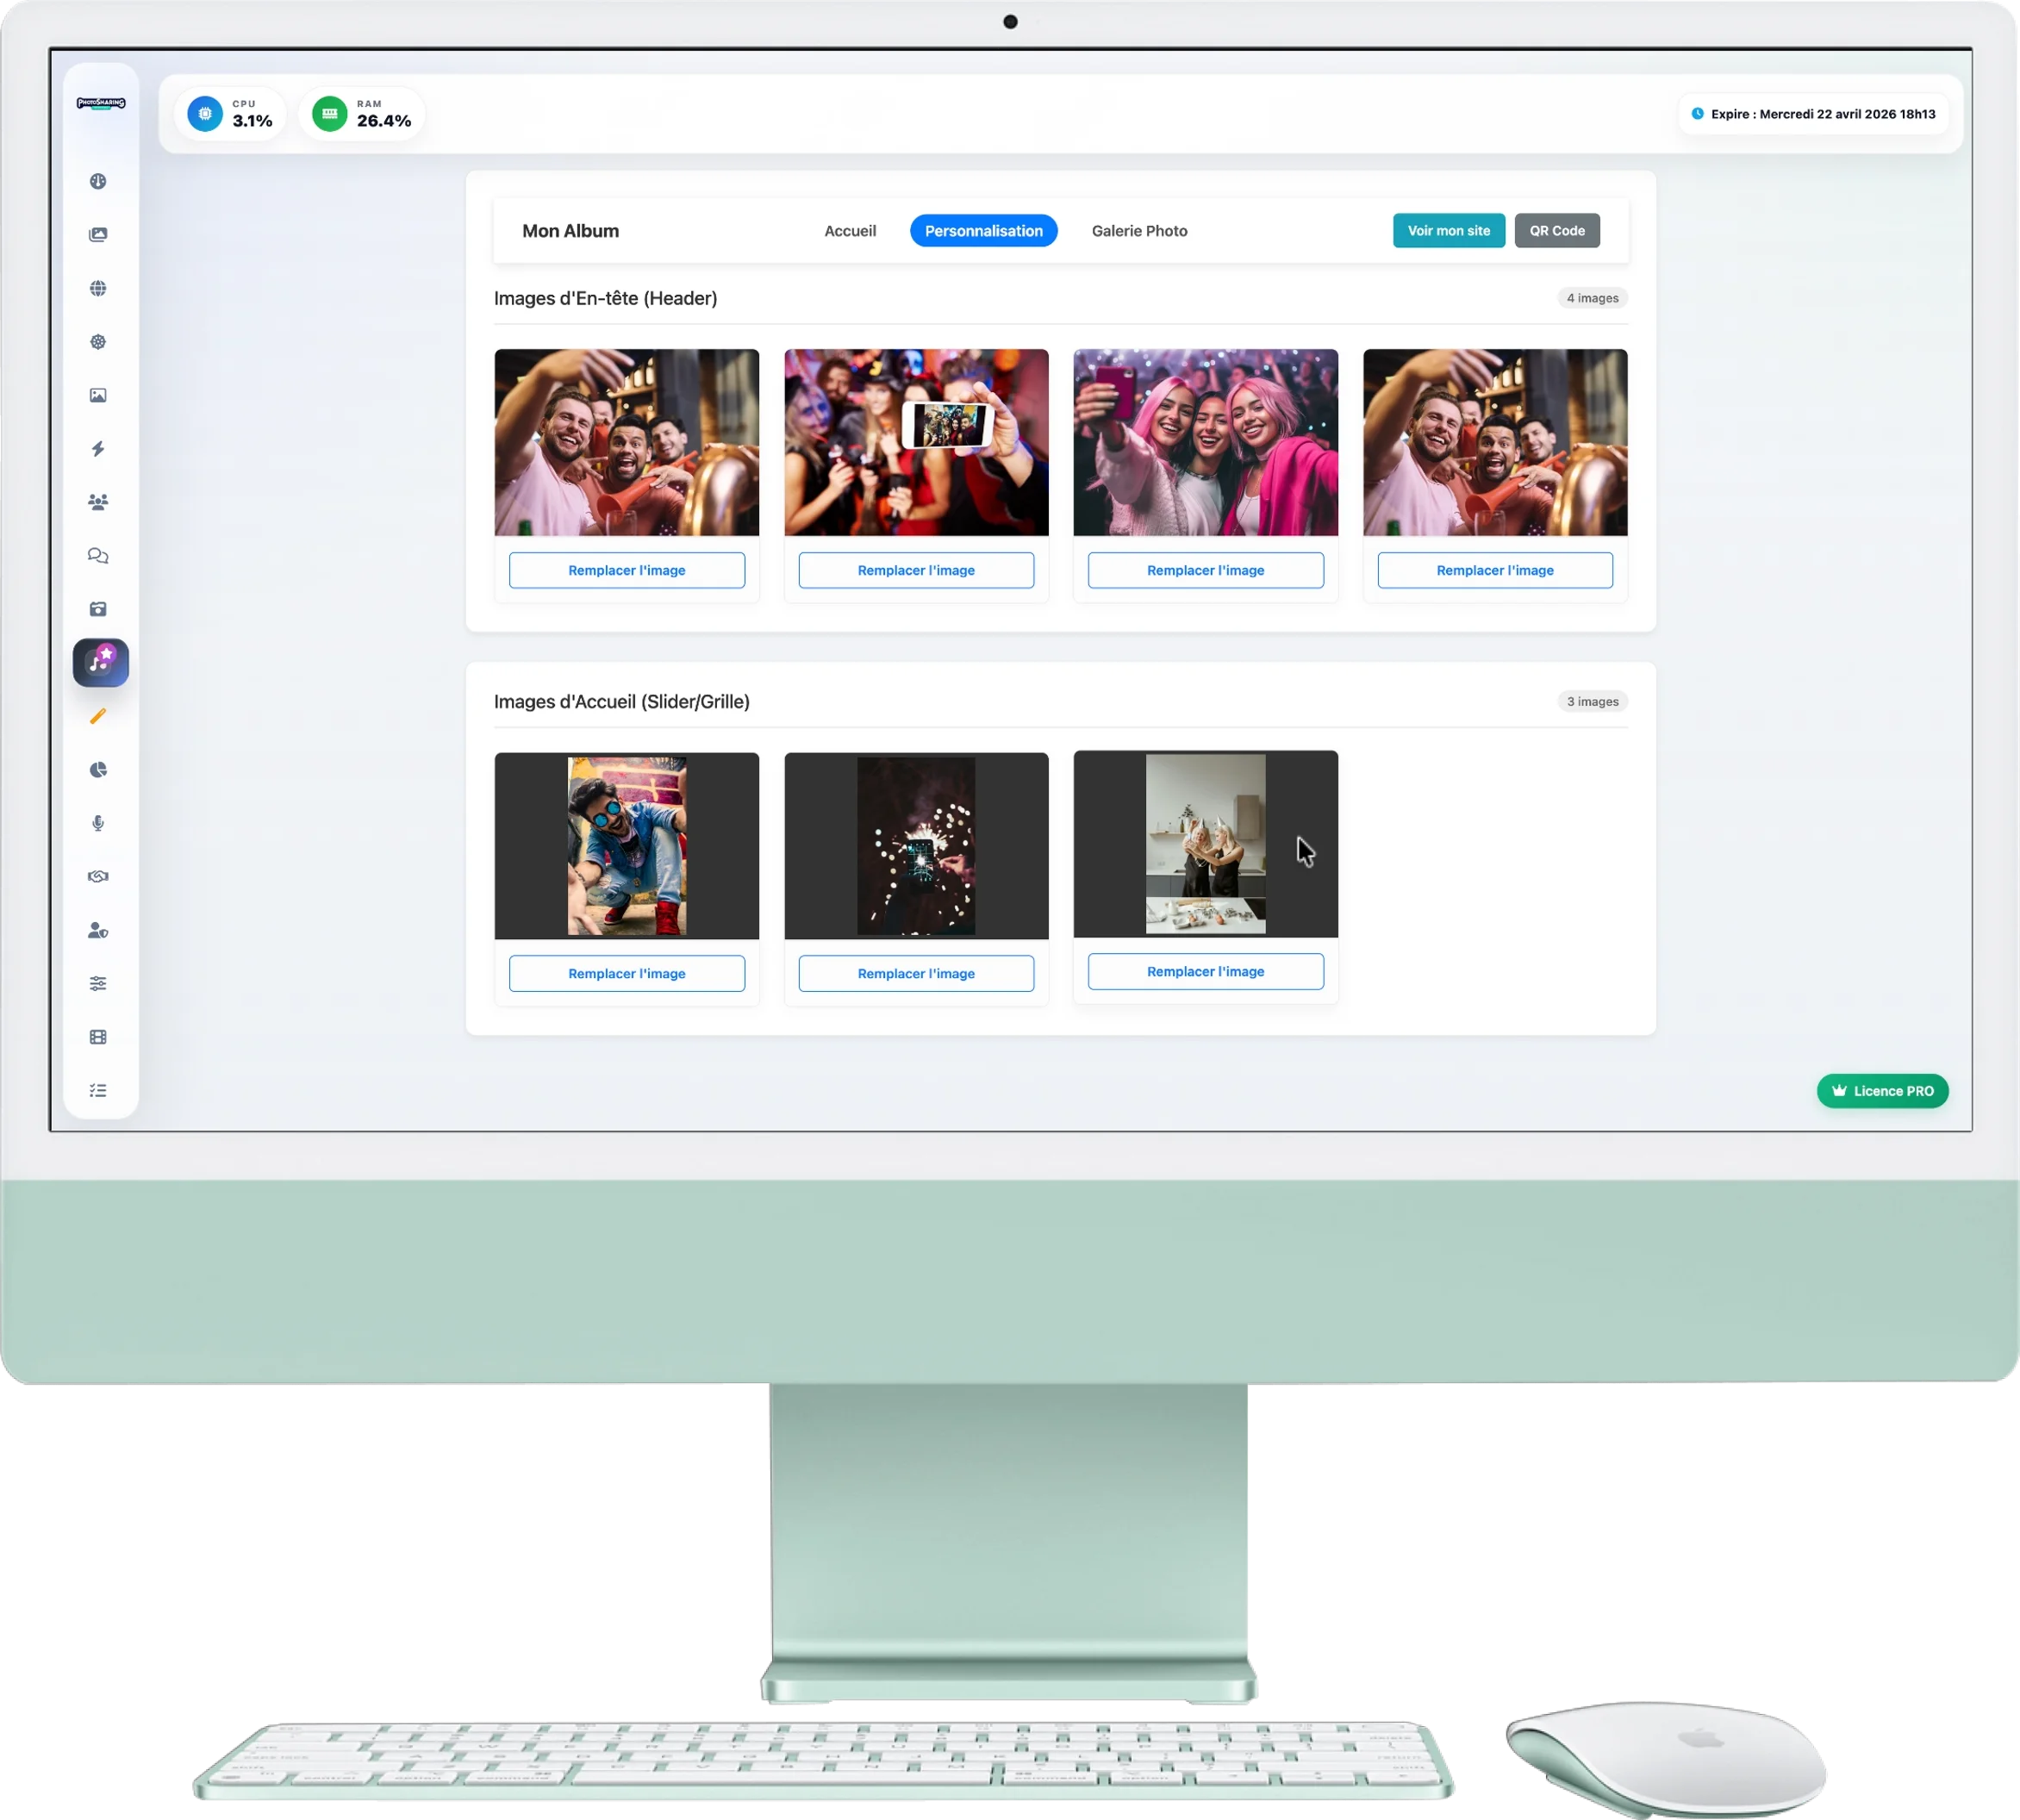
- Header Images: Replace the images displayed at the top of the page. Just click "Replace image."
- Home Images (Slider/Grid): These images are displayed in the body of the page in the form of a carousel or grid depending on the chosen theme.
3. “Photo Gallery” tab
This space allows you to manage the souvenir albums generated during your event:
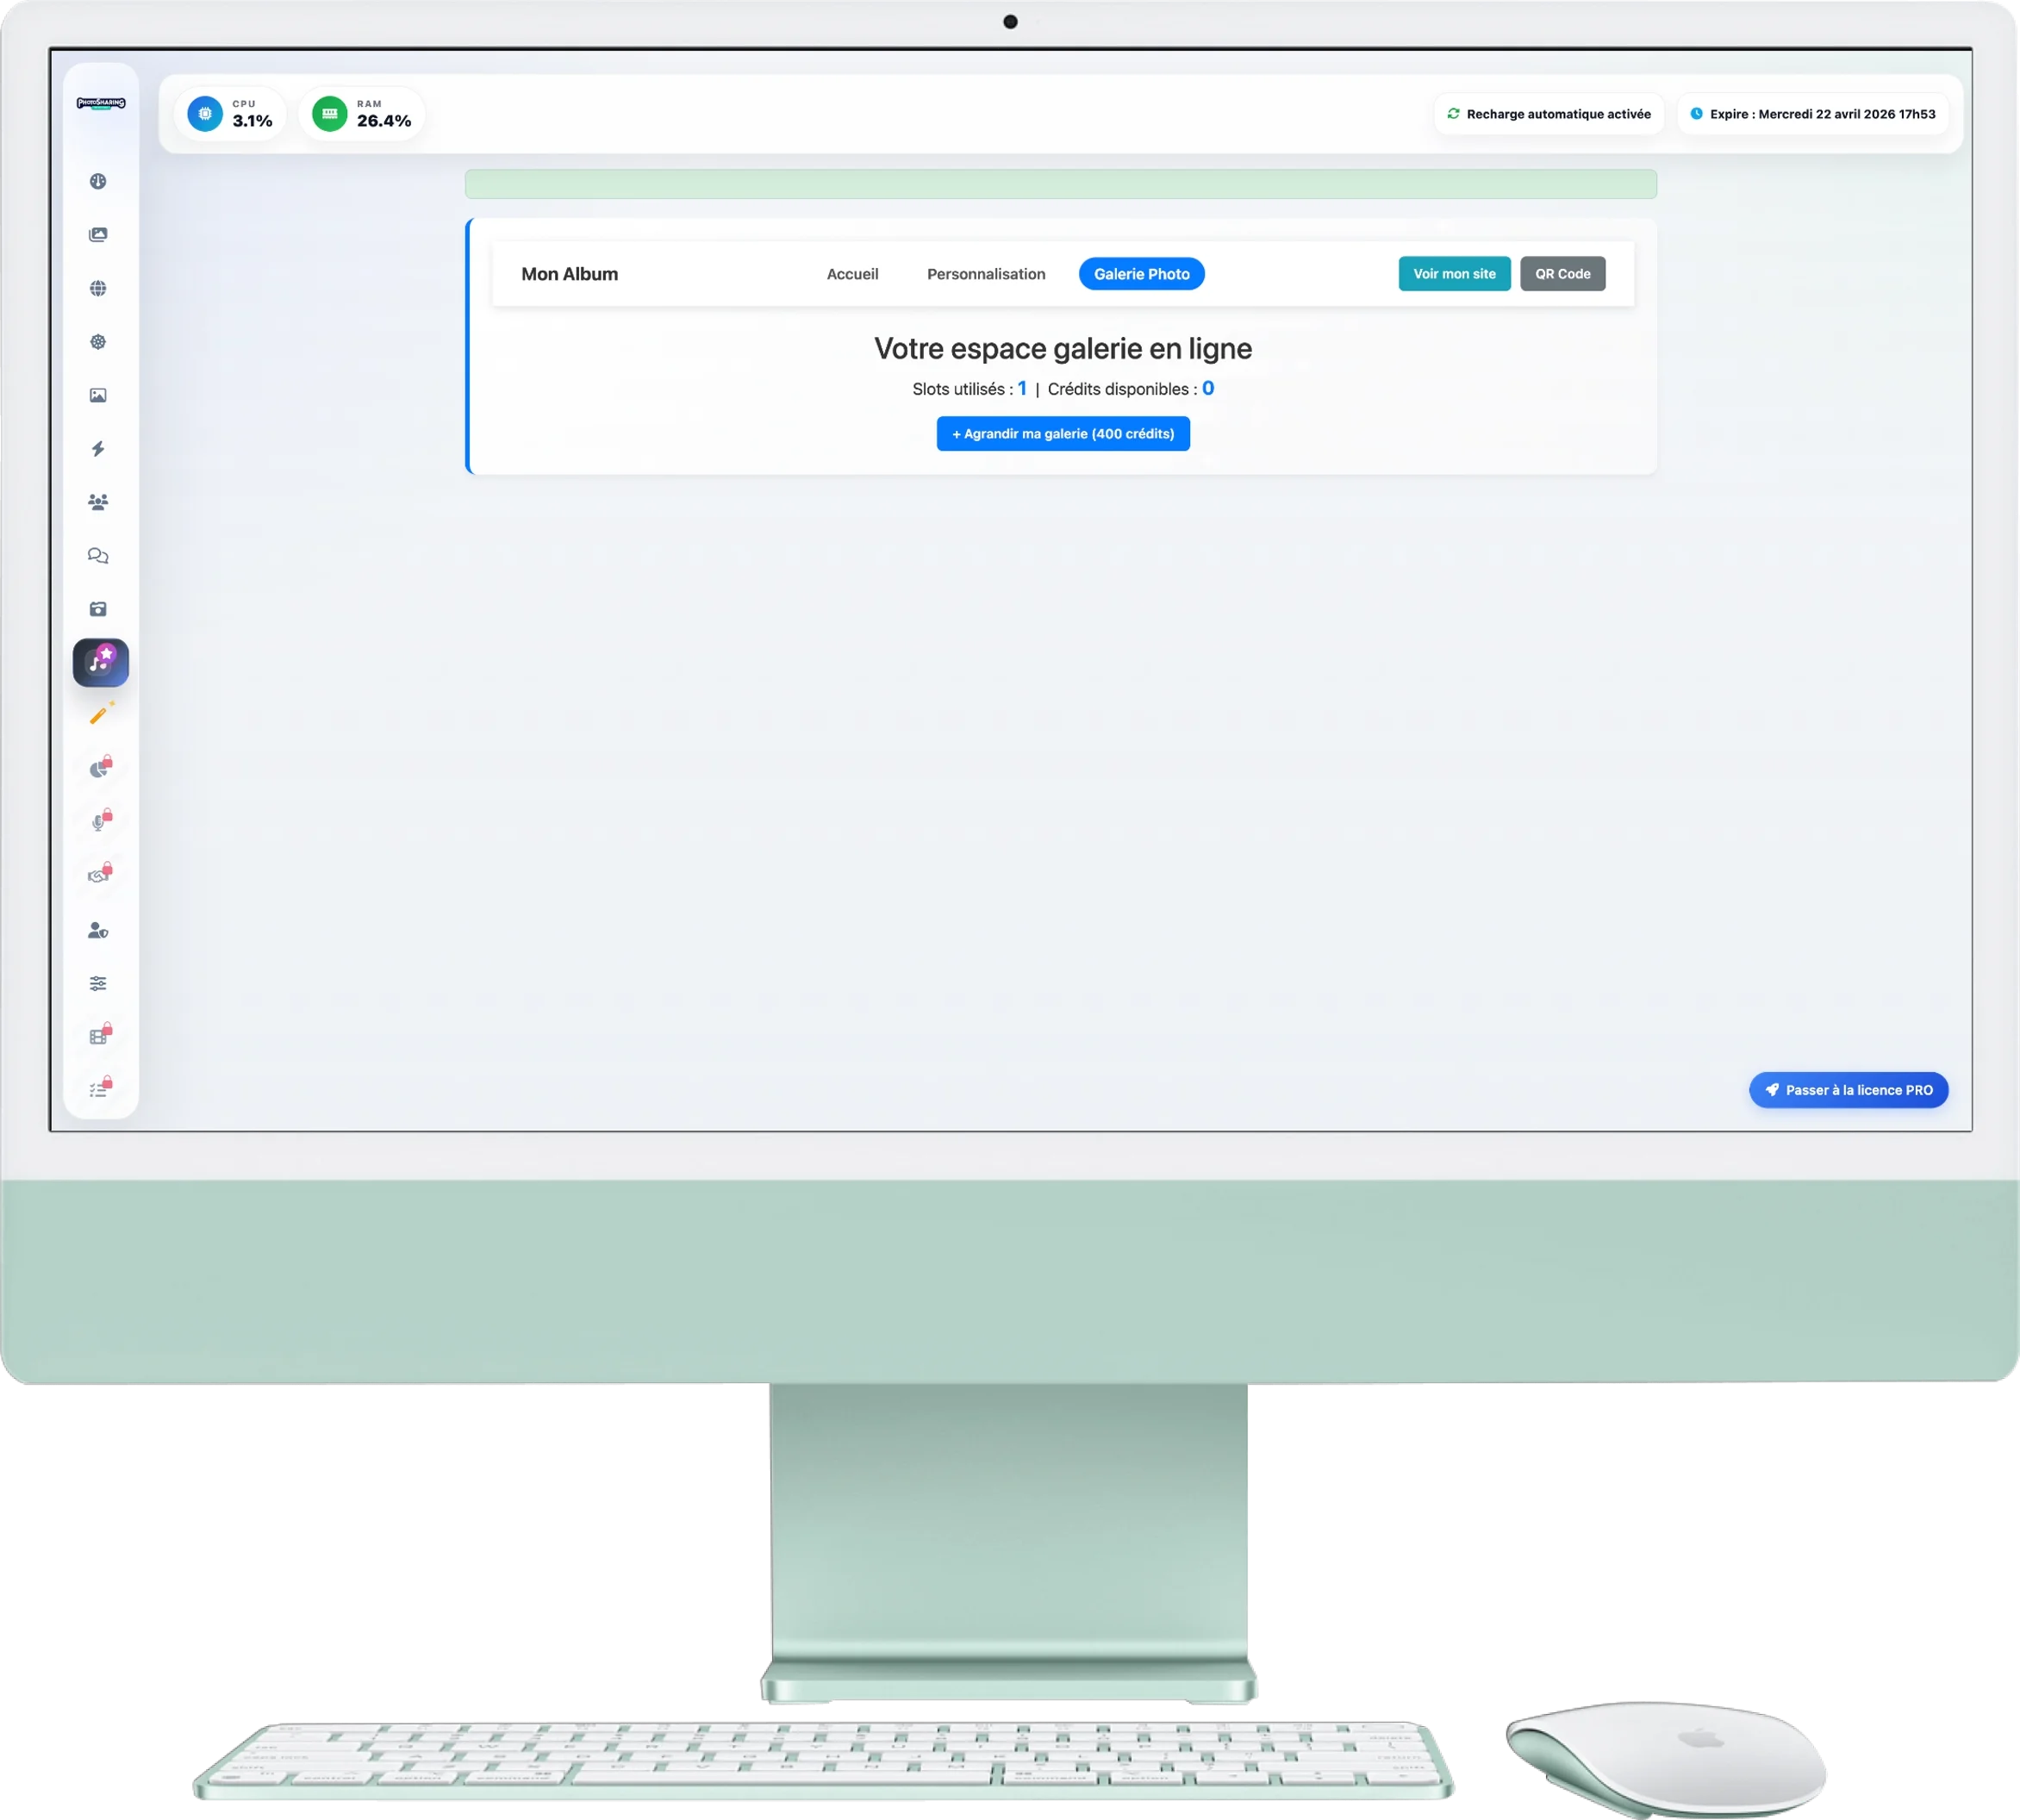
- Expand gallery: Buy additional slots with your credits to create more albums.
- Visibility : Make an album Public (visible to all) or Private (password protected).
- Management: Click on an album to see a slideshow preview, or delete it if necessary (caution, irreversible action).